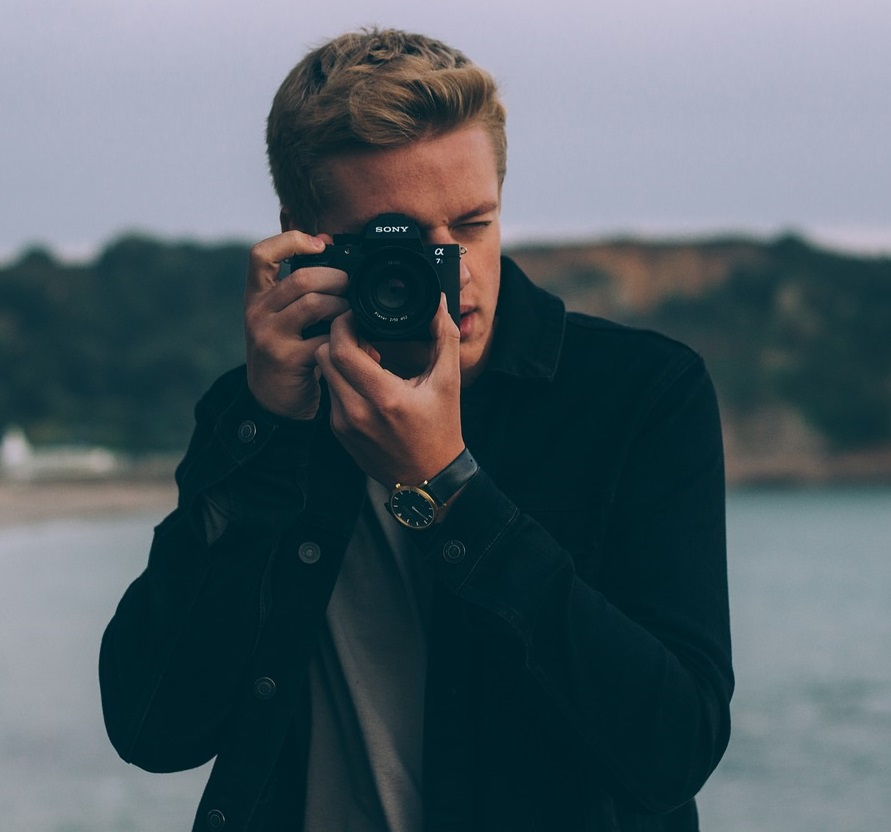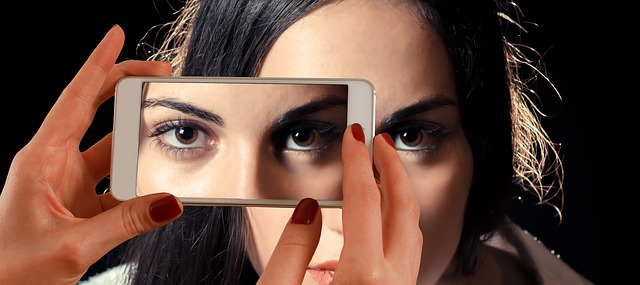
Mastering the headshot is one of the most useful skills any photographer can have. Learning to capture a good headshot has many benefits. It can help you create a studio business for photography, which constantly has customers as a headshot is always required for business and other formal needs.
According to Ismail Sirdah, learning the principles of taking a good headshot is very helpful for both amateur and expert photographers. There are essentially two types of headshot photography:
Types of Headshot Photography
1. Artistic Headshot
These are professional photos taken where the subject’s facial features are highlighted in an artistic way. This type of shot can be a part of a photography session for advertising, events, personal and other commercial use.
2. Non-artistic Headshot
These type of photography is done in a studio, where the subject is placed on a plain background, facing upfront and wearing formal clothing. These types of photos are used to apply for resumes, passports, and other formal needs.
By understanding these two main kinds of headshots, we can then proceed to learn more about tips and tricks to master headshot photography.
Photography Tips: How to Master the Headshot
For Artistic Headshots
1. Capture the subject’s good angle
“Many people believe that they have good angles and bad angles. The trick is to ask your client to show their good angle in front of the camera,” adds Ismail Sirdah. If your client knows where his or her good angles are, make sure that that side is facing the camera for artistic shots. This will also help your subject feel comfortable in posing since they are more confident when they know that they will look good at a certain angle.
2. Make use of artistic lighting
Shadows and highlights can create wonderful effects for your headshot. If studio light settings are not available to you, you can make use of natural light to capture the beauty of a person’s facial features. Facing your subject against the light will brighten their cheeks and forehead when they smile. Placing your subject’s head in the middle of a dark shadow will create a dramatic effect.
3. Edit blemishes in post-processing
Headshots are usually close-ups, and some clients will prefer imperfections to be edited upon the presentation of the final product. To help improve the appearance of your subject, ask if they prefer blemishes to be removed. These can include acne, scars, wrinkles, fine lines, moles, or other features that may appear bothersome.
4. Ask insight from your clients
Asking which shots your clients prefer can also help you pick which ones should be worth making physical copies of. Before changing a pose during a photography session, take 3-5 headshots with your subject smiling, not smiling, looking at the camera, looking away from the camera, thinking of an emotion, etc. Vary these shots and let your client look at the raw files. Ask them which ones do they think are the best photos from the set, and you can work your way from there.
For Non-artistic Headshots
1. Master the types of formal non-artistic headshots
Before going into this kind of photography, do your research about the different types of requirements in non-artistic headshots. Usually, there are varying rules for each requirement. For example, a 2×2 picture can be set on a plain background. Some visa photographs need to be on a blue background, and some need your subject to be wearing a formal attire. Make sure that your studio can accommodate these types of requirements.
2. Invest in lighting
These types of headshots prohibit any kinds of shadows. Improve your studio’s lighting by investing in various kinds of equipment. These include lamps, light reflectors, and background lights. These will remove any kinds of shadows and other lighting imperfections that can diminish the quality of your headshot photos.
3. Instruct your subjects clearly
Aside from mastering the types of non-artistic headshots, another skill is learning to instruct your subjects. Some photographers make use of their fingers to direct a certain angle to their clients. Others would give verbal instructions instead. Don’t forget to also instruct your clients about hair, jewelry, accessories and other facial applications that needed to be removed before taking the photo.
4. Measures on flash photography
Some clients would close their eyes at the glare of the flash. However, almost all the time flash is needed for non-artistic headshots. To avoid wasting photos as well as your time, you can give precautionary measures about the flash glare to your clients for them to try their best not to blink upon picture taking.
Be sure to follow these basic principles, and you are sure to master the skill of capturing a good headshot.
